Updated: 12/09/2018 | December 9th, 2018
Today, professional photographer Laurence Norah of Finding the Universe, continues his five-part series on taking better travel photos. In this post, Laurence is taking it up a notch to give some advanced travel photography techniques such as long exposure shots, HDR, star shooting, and more!
One of the challenges we face as travelers is that so many of the places we visit have already been photographed extensively.
In today’s post, I want to share with you some advanced travel photography techniques that will help you get more creative with your travel photography. These more advanced concepts build upon the ideas in the first three posts in this series.
I’m going to cover four topics in this post on advanced travel photography techniques that will open up new creative possibilities for when you’re out and about:
- Long-exposure Photography
- Night Photography
- High Dynamic Range (HDR) Photography
- High Contrast Photography
Just click on the links above to jump direcly to that section.
Part 1: Long-Exposure Photography
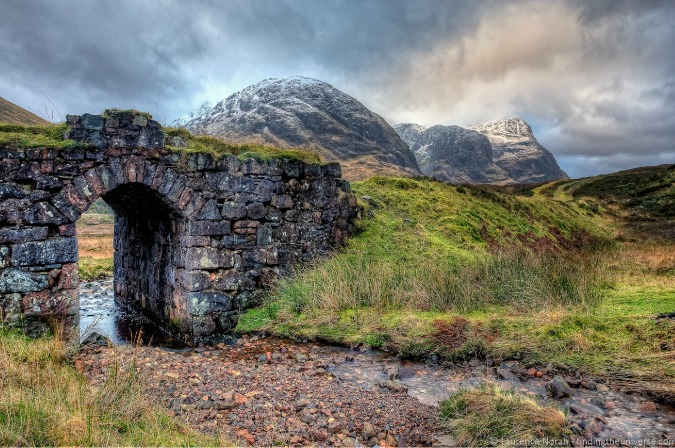
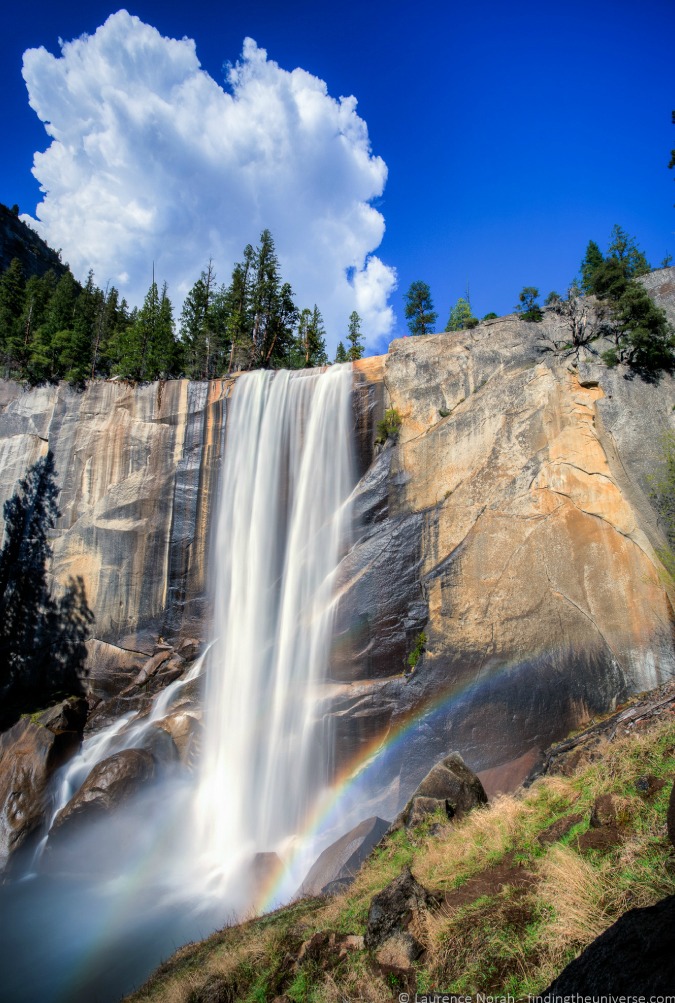
Have you ever seen a photo of a waterfall where the water looks white and fluffy? Or a shot of a street at night where the cars have been replaced by streaks of light? Here’s an example of a waterfall to give you an idea of what I’m talking about:
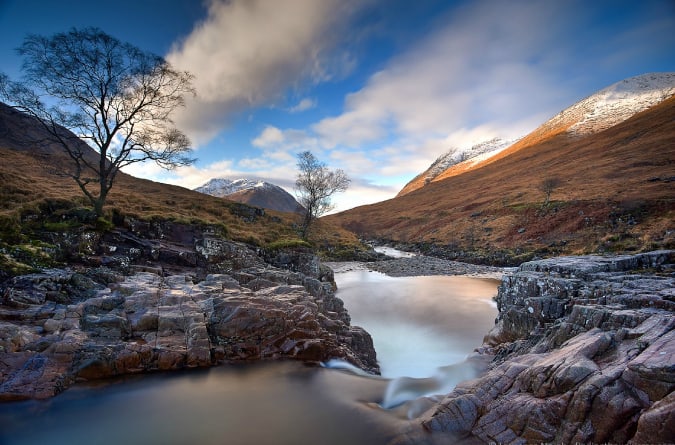
This was shot in Glencoe, a stunning part of the Scottish highlands. As you can see, the water’s surface has a silky, flat look, and the waterfall itself looks more like cotton than water. Additionally, the clouds in the sky have a sense of motion.
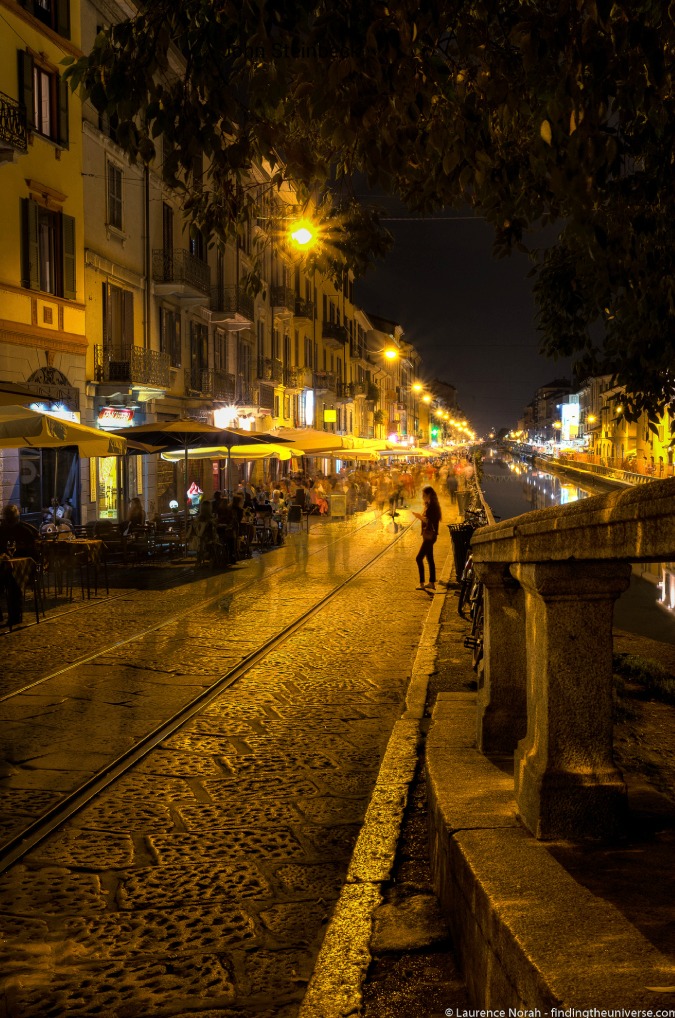
Here’s another shot, of the Dubai Marina at night, where you can see the cars have been replaced by streaks of light:
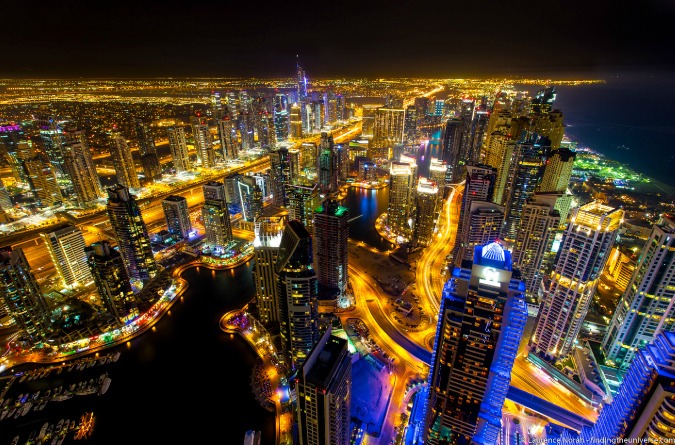
Both of these shots were achieved using the same technique, long-exposure photography.
I talked a little about using shutter speed in post two of this series, and how too low a shutter speed can result in blurry images due your hand movement. Long-exposure photography is all about taking advantage of that blurry effect, but as a result of the objects in the scene instead.
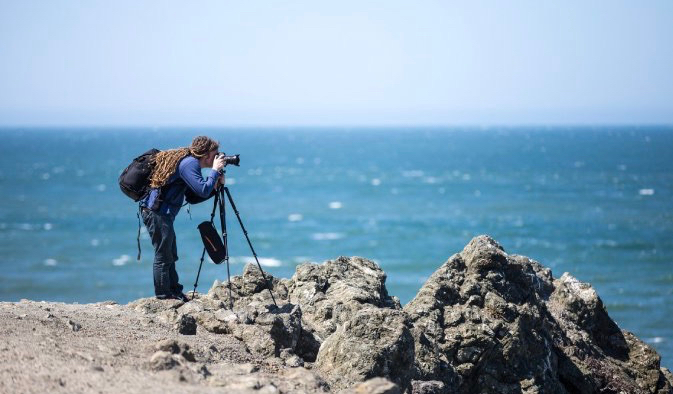
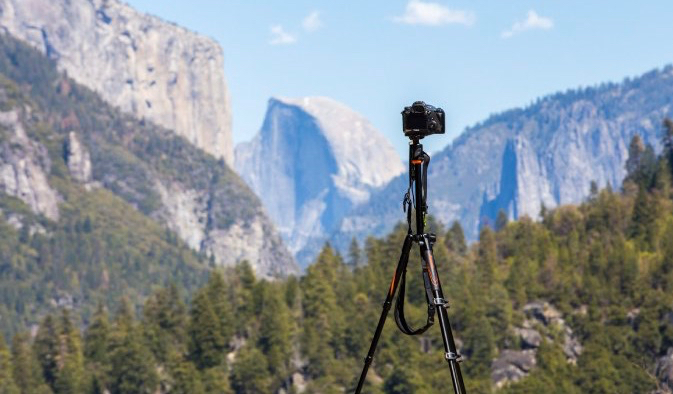
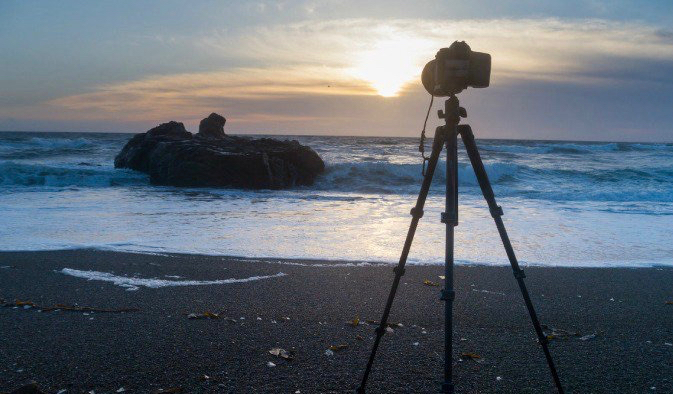
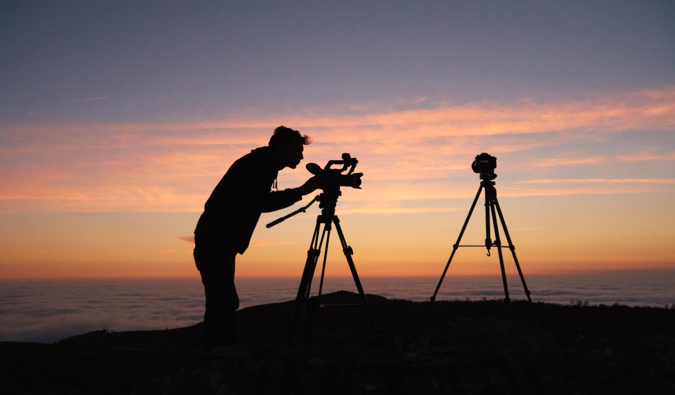
You are going to need a tripod to make this work, as otherwise, your images will be blurry everywhere rather than just where you want them to be.
The secret to long-exposure photography is to put your camera in either shutter-priority or manual mode, which will allow you to set how long the camera’s shutter is open for. This will be marked as “S,” “Tv,” or “T” mode on the mode dial if your camera has one. If you’re shooting using a smartphone, many recent models, such as the LG G4, also let you manually set the shutter speed via the camera app.
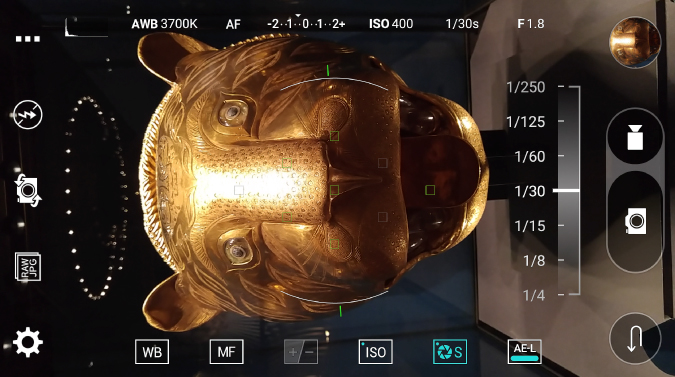
For waterfall shots, you’re looking at any shutter speed slower than 1/15 of a second. For traffic, it will depend on the speed of the traffic, but you’ll need to shoot at speeds slower than one second. Both of the long exposure shots I’ve shared above were shot with a 30-second exposure.
If you are shooting in the daytime, you might need a neutral density filter in order to compensate for the amount of light available (see the travel photography gear post, the third in the series, for more information). If you’re shooting in manual mode, you’ll have to set the aperture to get the correct exposure. Try to avoid apertures higher than f/16 though, as they often result in lower-quality images.
Long-exposure photography will have you looking at the world and motion in new ways, and it opens up all sorts of creative possibilities. Have fun with it!
Part 2: Night Photography
When I travel, one of my favorite things is getting far away, to the middle of nowhere, and just looking up at the night sky. Away from the city lights, it’s is one of the most spectacular views available to us, and gazing up at it always helps me gain a sense of perspective.
Of course, once I’m done looking at it, I want to try and capture it as a photo. This isn’t as hard as you might think and, apart from a tripod, doesn’t need a great deal of expensive equipment to achieve. But shooting star trails does require more thinking than just pointing your camera at the sky and hitting the “expose” button.
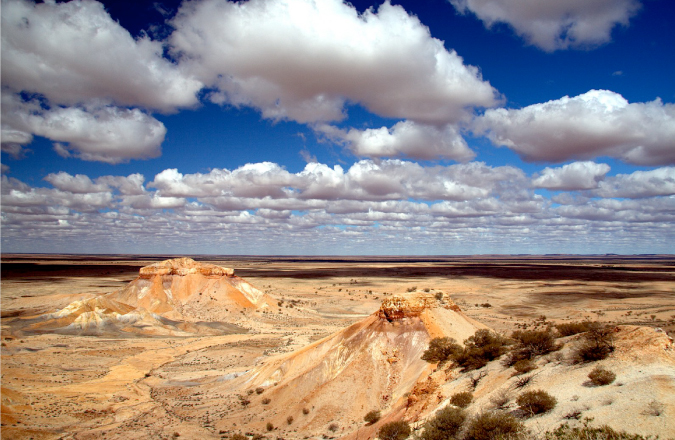
There are two main types of star photography. First, you can do a long-exposure shot and turn the stars into streaks of light, like this:
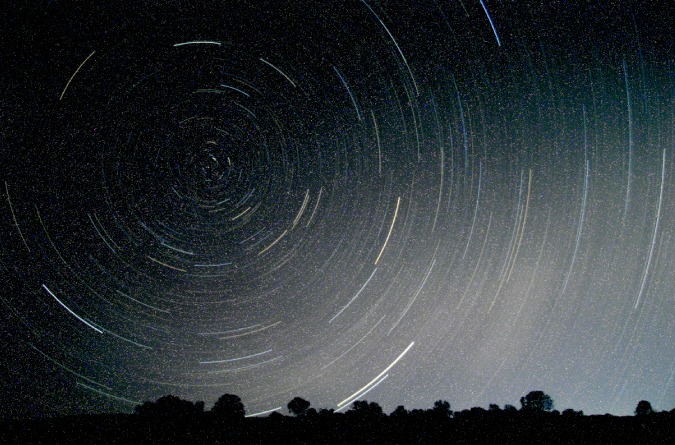
This was a two-hour exposure I shot while camping in the Western Australian outback. Yes, two hours! (You need a lot of patience and a decent battery for long-exposure star photography.)
You can also do multiple long exposures lasting from 30 seconds to a minute and then stack the resulting photos together using specialist software like this. This reduces the “noise” that super-long exposures are known for, as well as the risk of your battery going flat mid-shoot, but it does require more work afterward.
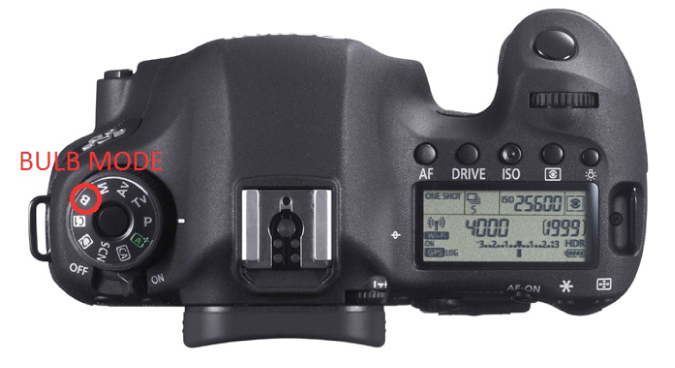
However, most cameras won’t let you shoot for longer than 30 seconds in manual mode. You have to switch to “BULB” mode, whereby the shutter button will stay open for as long as you hold the shutter down. Some cameras have this in manual mode rather than a dedicated BULB setting — check your camera manual to find out how your model of camera works.
You are unlikely to want to stand with your finger on the shutter button for two hours, but don’t worry, you have some options. The easiest is to invest in a remote release cable, which will let you “lock” the shutter button down for as long as you want. Alternatively, if you have a more modern camera with Wi-Fi built in, you might find that there is an app that lets you control the length of the exposure beyond 30 seconds.
Finally, consider the movement of the stars. The earth rotates from west to east, so if you want circular star trails, you’ll need to point your camera north or south. If you’re in the northern hemisphere, composing around the North Star (which remains stationary) is a good place to start.
The other type of star photo is where you capture the night sky without motion. This will likely still require a long exposure, but one that is not so long as to result in the stars blurring from motion. Around a 30-second exposure is the maximum before the motion of the stars from the earth’s rotation becomes apparent. Here’s a 30-second exposure of Venus setting in the Galápagos as an example:

The setup is very similar to star trail photography, in that you will need a tripod and will have to consider your composition. However, with only a 30-second exposure, you are going to need to increase the ISO on your camera to get as much light in as possible.
Modern cameras are capable of shooting at ISOs of 3200 and 6400 without introducing too much noise into the image. In addition, you’ll want to open your aperture as wide as possible — depth of field isn’t really a consideration when shooting the infinite! Open it as wide as it’ll go, preferably in manual mode.
In some ways, these shots are easier because you’ll be able to see the results a lot more quickly. Here’s a shot of the stars over France:
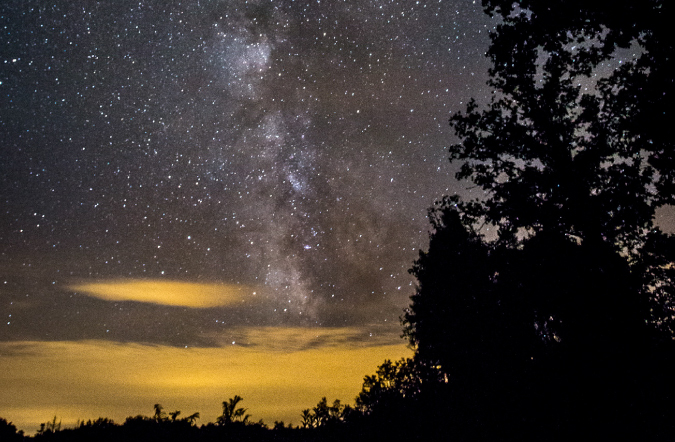
The Milky Way is an excellent subject for static star photography — it’s a natural leading line, as you can see in the shot above. This was a 30-second exposure at ISO 6400 and f/4, shot on a Canon 6D in manual mode.
Once you’ve gotten the hang of basic star photography, you can start to be a little creative. At these exposures, even a little light can make a big difference, so you can try “painting” objects with light, by using a flashlight and shining it on objects near you.
Part 3: High Dynamic Range (HDR) Photography
Have you ever noticed that sometimes your camera fails spectacularly to capture an image as your eyes see it? For example, the sky is too bright, or the shadows areas are too dark?
This is because our eyes have a much greater “dynamic range” than a camera has. Dynamic range is the difference between the darkest and lightest part of a scene that can be observed, and our eyes are able to resolve a much wider range in darkness and brightness than a camera can.
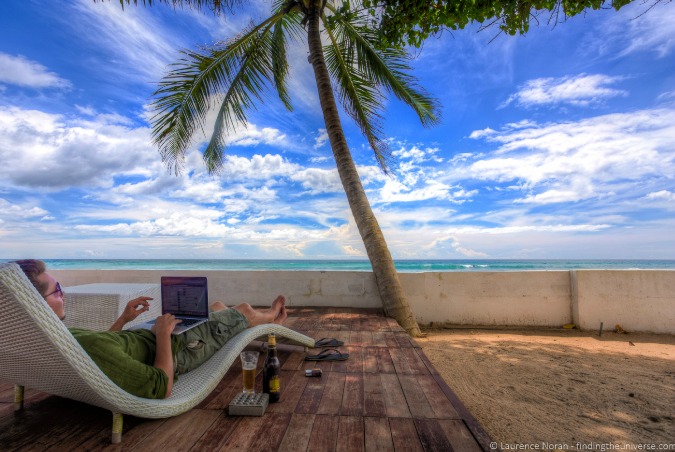
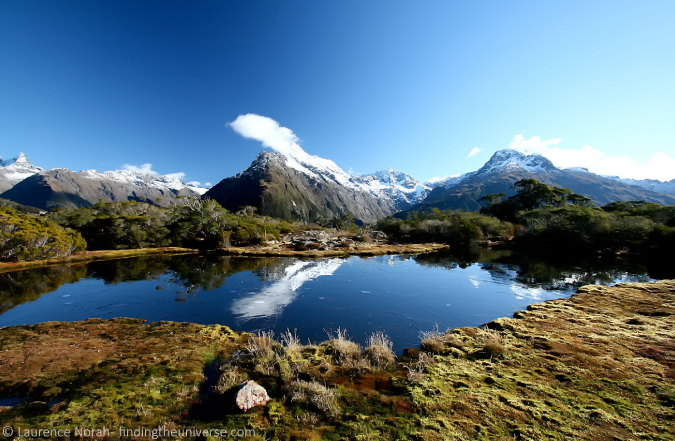
This is why you might end up with a shot that looks like this:
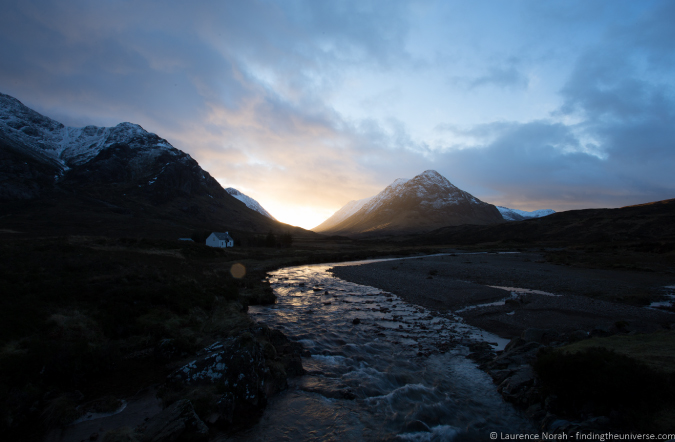
Or like this:
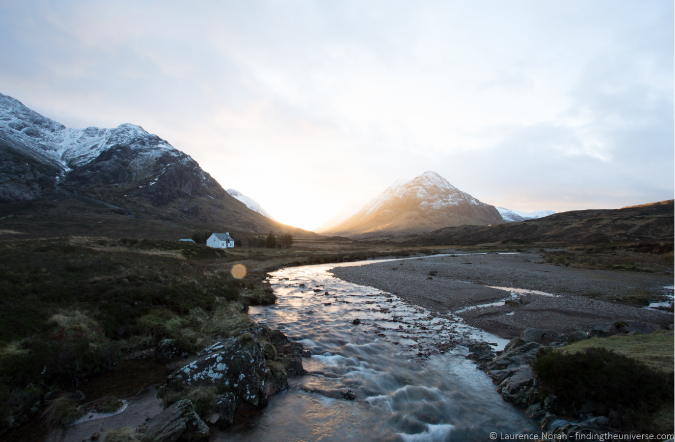
…when in reality — to your eyes — the scene looked more like this:
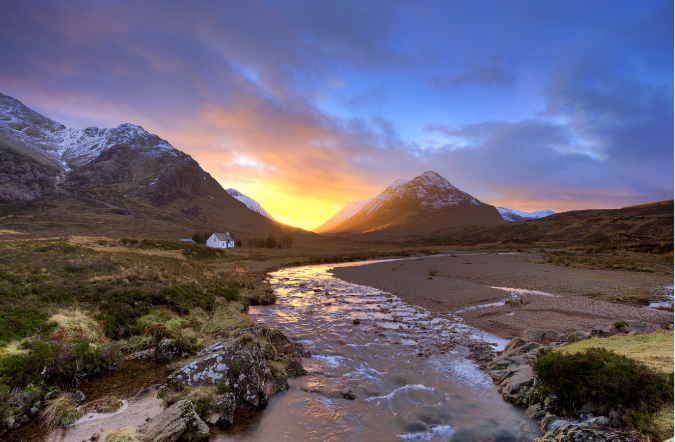
The problem is that cameras struggle to capture the full range of the exposure, from the dark shadows through to the bright highlights. Either the sky will be a white washout, or the landscape will be dark and unrecognizable.
The solution is a technique known as high dynamic range photography or HDR. This simply requires you to take multiple photographs of the same scene at different exposures, and then put them together. This is also known as exposure blending.
If you have a relatively modern smartphone or camera, then it will probably have an HDR mode built in. The iPhone, in particular, has an excellent HDR mode. You can access this from the settings menu in your camera or smartphone menu. On a Canon camera for example, the menu is as follows:
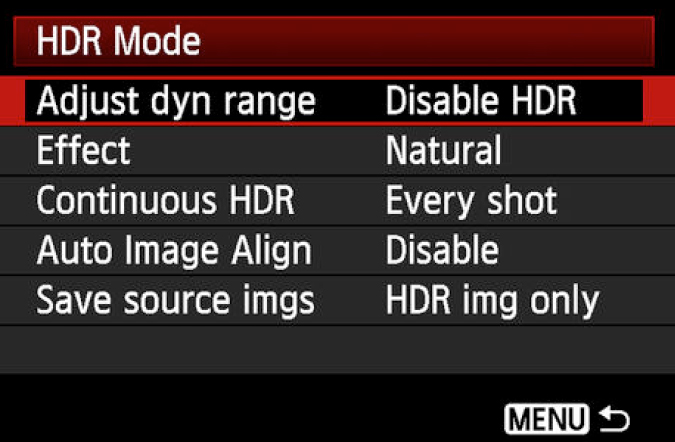
Using your device in HDR mode is very simple, and it will do everything for you. Your device will take the necessary number of photos, align them if necessary, and then blend them together to give you a photo that looks more representative of the scene you saw.
The disadvantage of this is that you are leaving the camera to make all the decisions, and you won’t usually have the source images — you’ll just be presented with the final HDR image, and your camera will discard the interim files.
If you want more control over the final image, then you’ll need to set your camera to “bracket” the exposures for you. This will allow you to take a sequence of photos of different exposures just by holding the shutter down. To find this mode in your camera, look in the menu for auto exposure bracketing, or AEB.
Then you’ll have to use computer software to merge the images together into a single photo. There are a variety of software tools available to merge your images. I use Lightroom, Photoshop, and Photomatix Pro, but there are many others out there.
Shooting multiple photos at once does mean you need either a very steady hand or — you guessed it— a tripod. If your hand moves between the shots, then the images will likely need to be aligned, which doesn’t always work perfectly. In addition, be aware of moving objects, as these can create odd ghost effects as the software tries to combine images.
HDR works best in largely static, high-contrast scenes, particularly landscapes where there isn’t much movement and the difference in brightness between the darkest and lightest parts of the scene is pronounced.
Part 4: High Contrast Photography
Speaking of high-contrast scenes, don’t forget that you can use these to your advantage. You don’t have to use HDR; instead, you can use all that light to create wonderful silhouettes of your subjects.
This is a great way to get a different take on a subject, and used creatively can give you some standout images.
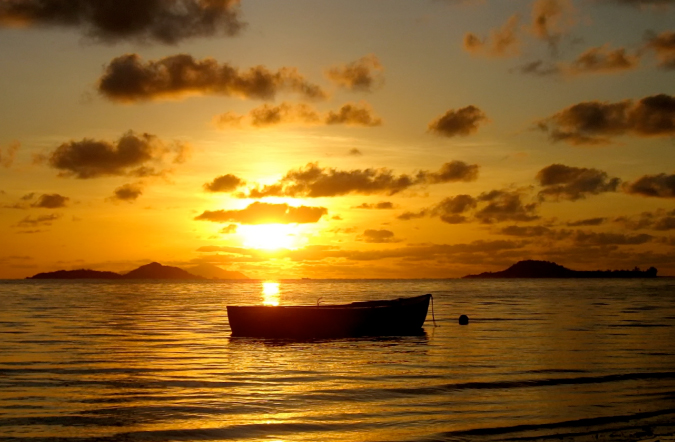
The shot above is the silhouette of a boat against two islands in the Seychelles. Shooting directly into the sun like this means that you are going to have to decide which area of the shot you want to correctly expose. If I had set up the shot so the boat was correctly exposed, the sky would have been a giant white mess as a result of the light from the sun.
I could, of course, have shot an HDR image, but in this case, a silhouette of the boat and two islands was a more attractive composition.
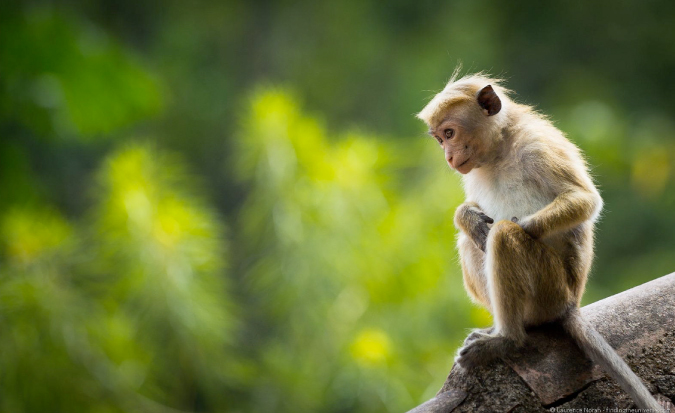
Other great subjects for silhouetting are people, trees…really, any object with a distinctive outline.
This sort of shooting will require a little practice, as the camera won’t know what sort of exposure you want. The joy of digital is that you can review a shot and try it again — particularly in a scene like this, where you have a bit of time to get the shot right before the sun sets. Be aware that your exposure meter might be indicating that you are over- or underexposing the scene.
The easiest way to get good results is to shoot in manual mode and set everything yourself. Keep the ISO rating as low as possible, and adjust your shutter speed and aperture according to the composition you want to achieve, considering the depth of field and any long-exposure effects you might be trying to achieve.
I use all the above travel photography techniques on a regular basis when I’m out and about in the world, looking to put a fresh perspective on a familiar scene. Admittedly, these are individually complex subjects to tackle, and it will take time to master each of them, but the rewards are very much worth it. Just start by picking one technique and work on it as often as you can. With regular practice, it will become second nature and you can move on to another. Travel photography is a slow process, but it’s a rewarding one if you’re willing to put in the work. If you aim for progress and not perfection, you’ll be taking better (and more advanced) travel photos in no time!
Laurence started his journey in June 2009 after quitting the corporate life and looking for a change of scenery. His blog, Finding the Universe, catalogs his experiences and is a wonderful resource for photography advice! You can also find him on Facebook, Instagram, and Twitter.
More Travel Photography Tips!
For more helpful travel photography tips, be sure to check out the rest of Laurence’s travel photography series:
- Part 1 – How to Take Professional Travel Photos
- Part 2 – How to Shoot the Perfect Travel Photograph
- Part 3 – Camera Gear: How to Not End Up With the Wrong Equipment
- Part 4 – How to Take the Perfect Photo: Advanced Techniques
- Part 5 – 7 Post-Processing Tips to Improve Your Travel Photographs
LEARN TO GET OUT OF AUTO!
 If you are looking to really get into photography and want to master your camera and take amazing photos when you travel, Laurence and I have developed a comprehensive photography course that will get you out of auto and have your friends go “Wow! That’s really breathtaking!” in no time. Click here to learn more about it!
Book Your Trip: Logistical Tips and Tricks
Book Your Flight
Find a cheap flight by using Skyscanner or Momondo. They are my two favorite search engines because they search websites and airlines around the globe so you always know no stone is left unturned.
Book Your Accommodation
You can book your hostel with Hostelworld. If you want to stay elsewhere, use Booking.com as they consistently return the cheapest rates for guesthouses and cheap hotels. I use them all the time.
Don’t Forget Travel Insurance
Travel insurance will protect you against illness, injury, theft, and cancellations. It’s comprehensive protection in case anything goes wrong. I never go on a trip without it as I’ve had to use it many times in the past. I’ve been using World Nomads for ten years. My favorite companies that offer the best service and value are:
- World Nomads (for everyone below 70)
- Insure My Trip (for those over 70)
Looking for the best companies to save money with?
Check out my resource page for the best companies to use when you travel! I list all the ones I use to save money when I travel – and I think will help you too!
The post How to Take the Perfect Photo: Advanced Techniques appeared first on Nomadic Matt's Travel Site.